Hello World!
现在我们已经安装好了,让我们开始吧!
至少,我们需要创建一个带有应用程序 ID 的 gtk::Application 实例。 为此,我们使用了许多 gtk-rs 对象都支持的 builder 模式。 请注意,我们还导入了 prelude 以将必要的 trait 引入。
文件名:listings/hello_world/1/main.rs
use gtk::prelude::*;
use gtk::{glib, Application};

const APP_ID: &str = "org.gtk_rs.HelloWorld1";

fn main() -> glib::ExitCode {
    // Create a new application
    let app = Application::builder().application_id(APP_ID).build();

    // Run the application
    app.run()
}
它构建正常,但终端中显示一条警告。
GLib-GIO-WARNING: Your application does not implement g_application_activate()
and has no handlers connected to the 'activate' signal. It should do one of these.
GTK 告诉我们,应该在其 activate步骤中调用某些内容。
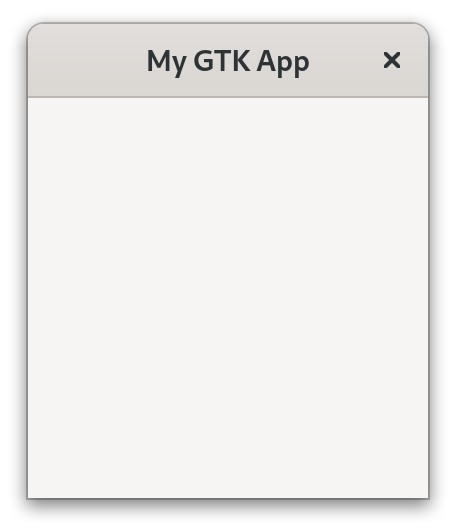
所以让我们在那里创建一个 gtk::ApplicationWindow。
文件名:listings/hello_world/2/main.rs
use gtk::prelude::*;
use gtk::{glib, Application, ApplicationWindow};

const APP_ID: &str = "org.gtk_rs.HelloWorld2";

fn main() -> glib::ExitCode {
    // Create a new application
    let app = Application::builder().application_id(APP_ID).build();

    // Connect to "activate" signal of `app`
    app.connect_activate(build_ui);

    // Run the application
    app.run()
}

fn build_ui(app: &Application) {
    // Create a window and set the title
    let window = ApplicationWindow::builder()
        .application(app)
        .title("My GTK App")
        .build();

    // Present window
    window.present();
}
这样好多了!

通常,我们希望用户能够与界面进行交互。
此外,章节的名称表示软件将包含 “Hello World!”。
文件名:listings/hello_world/3/main.rs
use gtk::prelude::*;
use gtk::{glib, Application, ApplicationWindow, Button};
const APP_ID: &str = "org.gtk_rs.HelloWorld3";

fn main() -> glib::ExitCode {
    // Create a new application
    let app = Application::builder().application_id(APP_ID).build();

    // Connect to "activate" signal of `app`
    app.connect_activate(build_ui);

    // Run the application
    app.run()
}

fn build_ui(app: &Application) {
    // Create a button with label and margins
    let button = Button::builder()
        .label("Press me!")
        .margin_top(12)
        .margin_bottom(12)
        .margin_start(12)
        .margin_end(12)
        .build();

    // Connect to "clicked" signal of `button`
    button.connect_clicked(|button| {
        // Set the label to "Hello World!" after the button has been clicked on
        button.set_label("Hello World!");
    });

    // Create a window
    let window = ApplicationWindow::builder()
        .application(app)
        .title("My GTK App")
        .child(&button)
        .build();

    // Present window
    window.present();
}
如果您仔细查看这段代码,您会注意到它的右上角有一个小眼睛符号。 按下它后,您可以看到完整代码。 我们将在整本书中使用它来隐藏那些对传达信息并不重要的细节。 如果您想按照本书一步步编写程序,请注意这一点。 在这里,我们隐藏了我们引入
gtk::Button的内容。
现在有一个按钮,如果我们单击它,它的标签将变为 “Hello World!”。
创建我们的第一个 gtk-rs 应用程序不是很难,对吧? 现在让我们更好地了解我们到底在这里做了什么。